Route48 in OpenWRT with Wireguard
Get IPv6 on non-IPv6 Networks with OpenWRT and Route48 via Wireguard


Introduction
Route48 is a free service which provides IPv6 over Wireguard, Zerotier or GRE/SIT Tunnels to people with no IPv6, or people who want an extra subnet for who knows what. They also provide free BGP Transit, provided you have your own ASN.
Now, my grandparent's house where I was living in for a couple of days, had internet from a local ISP, who did not have any IPv6 support. And biggest problem was my phone, which was acting as a server and had been port-forwarded via IPv6, was not accessible due to the lack of IPv6 support. Yes, I could have installed Zerotier and blah blah blah. But if I have a public IP already on it, why bother?
First thing that came to mind was Hurricane Electric's Tunnelbroker. But the IPv4 provided was under a CG-NAT (obviously). So after some digging, I found Route48, and seeing the Wireguard option made me think that I could definitely get it on OpenWRT
Process
I will be using LuCI here as much as possible to avoid any complications or thoughts telling that this will break everything.
Phase 1: Installing Wireguard
Firstly, we will download Wireguard on our router. Log into your router, go to System -> Software
You will be presented with this screen:
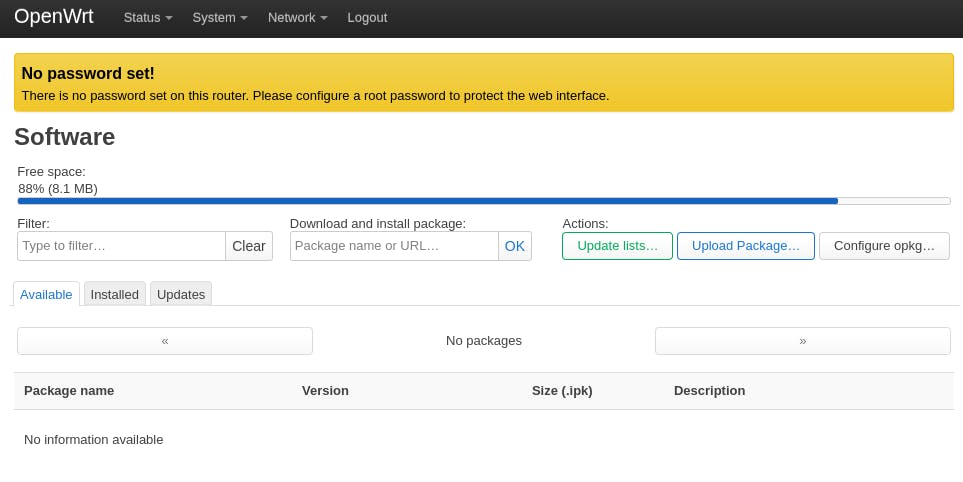
Click on the "Update Lists..." button, and let it do its thing. Once its done, it will show up a popup like this:
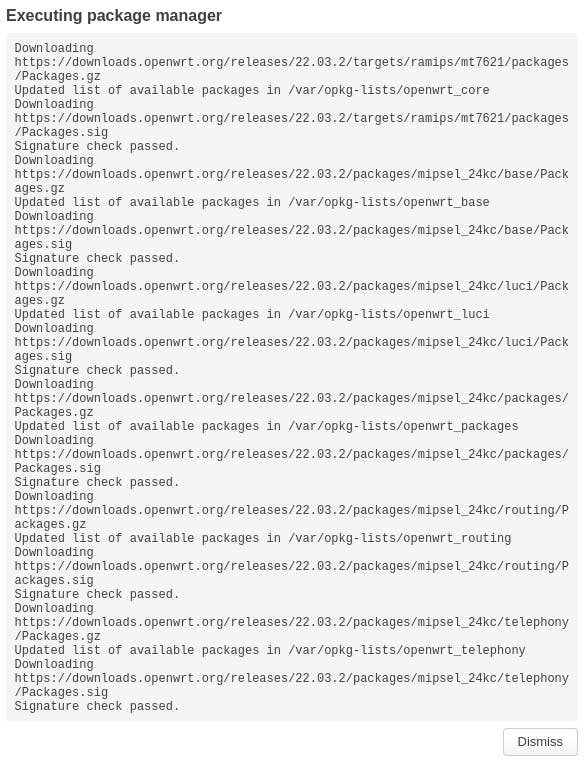
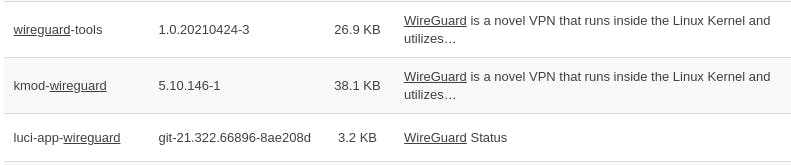
After that, the list will be populated fully. When that's done, search for "wireguard" and install these applications: (Note: When you install wireguard-tools, kmod-wireguard will be automatically installed)
Restart your router.
Phase 2: Making the VPN
SSH into your router as root, e.g.: ssh root@192.168.1.1
Type in the command: wg genkey | tee privatekey | wg pubkey > publickey
Then, note down the private key and public key by doing cat privatekey and cat publickey respectively.
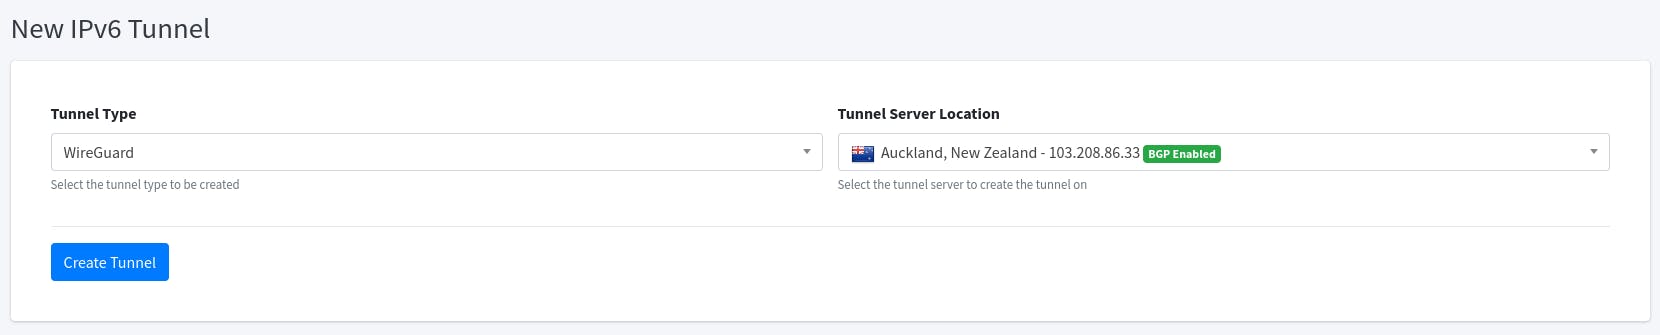
Go to the Route48 website, sign up, select "New Tunnel" under the tab "IPv6 Tunnels"
Select the tunnel type as Wireguard, and Tunnel Server Location to one nearest you, or whatever you like. It does not have to be BGP Enabled, but if you want to use their BGP Transit, you need to use one like that. But for us, we can use any.
Click on the Edit button, and on the Wireguard Client Private Key text box, put in the private key you copied earlier.
Save it, go back, click on the Config button, copy the text. This is the main VPN file.
Phase 3: Configuring VPN Interface
On your router, go to Network -> Interfaces Then, click on the "Add new interface..." button on the bottom of the panel.
A popup will open.
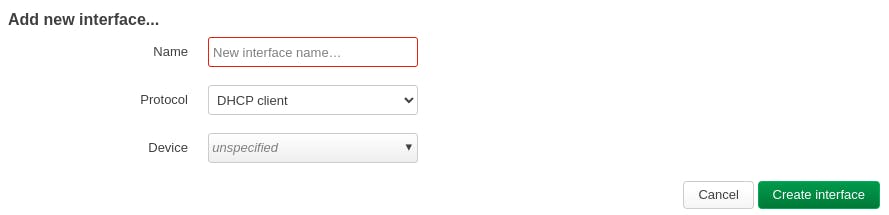
Give it a name, and select "Wireguard VPN" as the protocol. Then, click on create interface.
The interface of the panel should change to something like this:
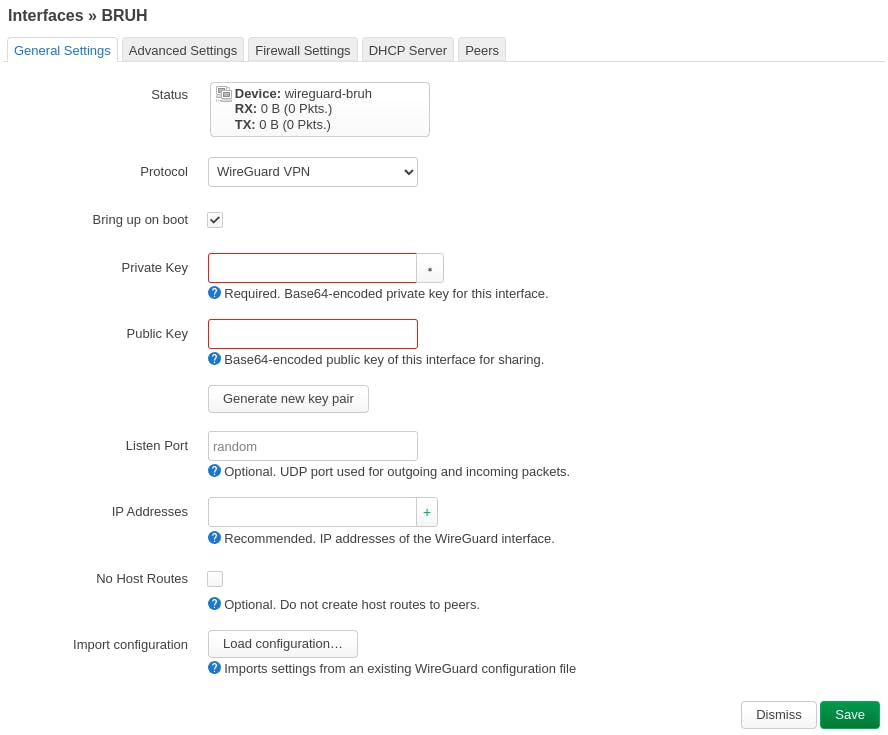
Click on the "Load Configuration..." button, and paste in the copied config. Your private key and public key should be added automatically, but do a second check.
In the IP Addresses section, copy the IP, and remove it by clicking the cross icon on the side. Then paste it and replace the /48 with /64. For e.g.: If your IP is 2a06:1280:1011::2/48, then change it to 2a06:1280:1011::2/64.
Click on save, then click on the blue "Save & Apply" button. Wait for it to finish configuring, and it should show an IP address. If not, restart your router.
Phase 4: Firewall configuration
After confirming your IP address, you may now move forward to the firewall configuration. On your router, go to Network -> Firewall. Click on the "Add" button.
A panel like this should open:
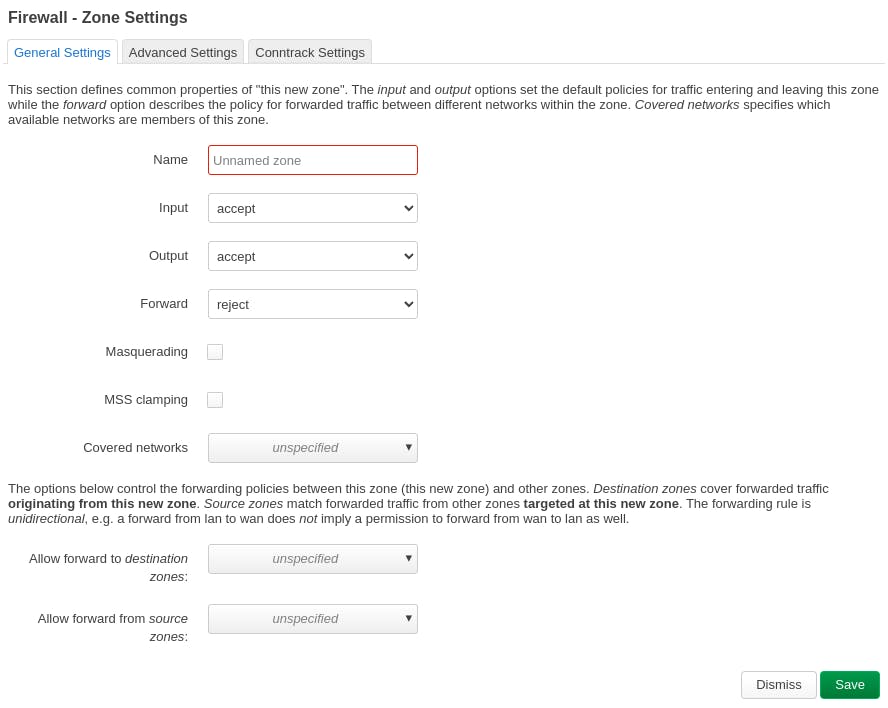
Name it, check Masquerading and MSS Clamping.
Under "Covered Networks", select the name you gave to your Wireguard Interface.
Under "Allow forward from source zones", select the "lan" interface. Then click on save.
Phase 5: IPv6 Gateway Route
On your router, go to Network -> Routing
Click on the tab "Static IPv6 Routes"
Click on "Add"
Select Interface as the Wireguard Interface you made
Set target as ::/0
Set the gateway, such that:
If your IP on the Wireguard Interface is 2a06:1280:1011::2/48
Enter 2a06:1280:1011::1
Phase 6: Interface configuration
On your router, go to Network -> Interfaces. Click on the blue "Edit" button beside "LAN". Go to the "Advanced Settings" tab. Deselect "Delegate IPv6 prefixes" Set "IPv6 assignment length" to "Disabled"
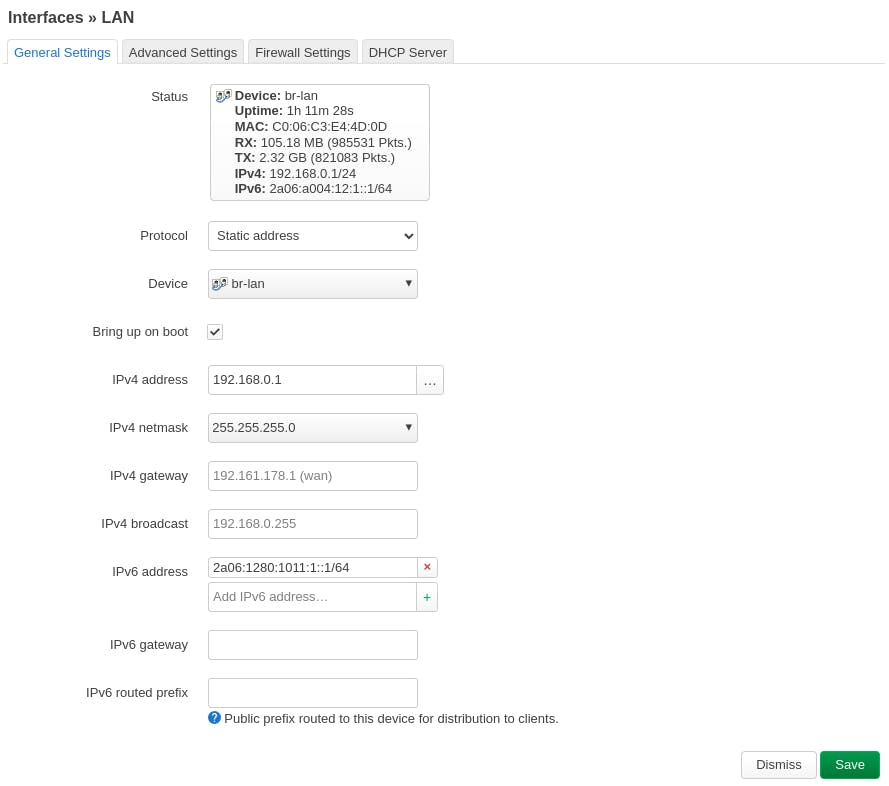
Go back to General Settings. A new section containing IPv6 specific configurations will be there. Under IPv6 Address, put your IP in such a way that:
If your IP on the Wireguard Interface is 2a06:1280:1011::2/48
Enter 2a06:1280:1011:1::1/64
It should be looking something like this:
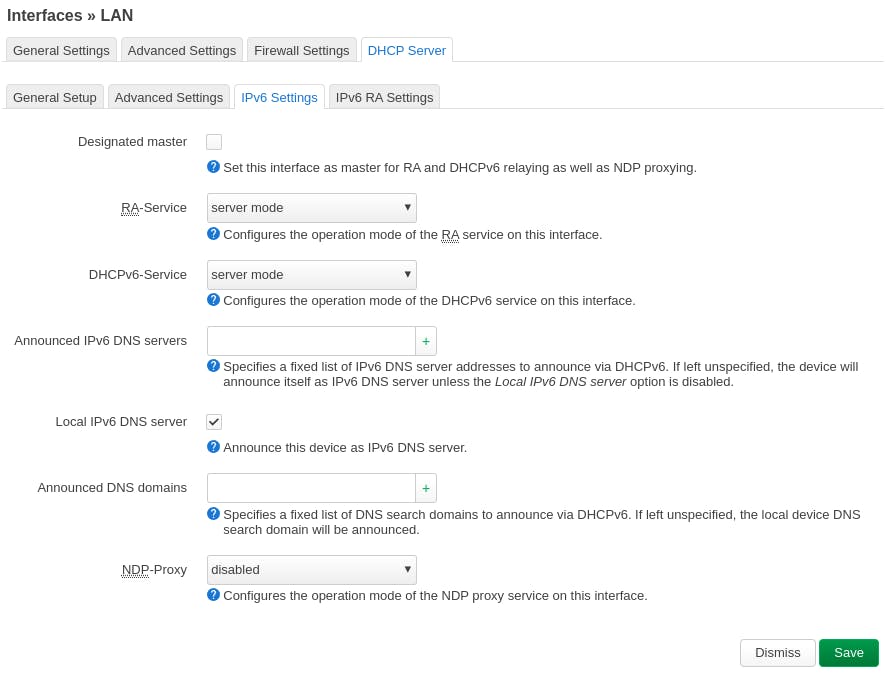
After that, go to the tab which says "DHCP Server" and go to "IPv6 Settings" under that. Ensure "RA-Service" and "DHCPv6-Service" is set to "server mode". If not, change it to be that.
It should be looking something like this:
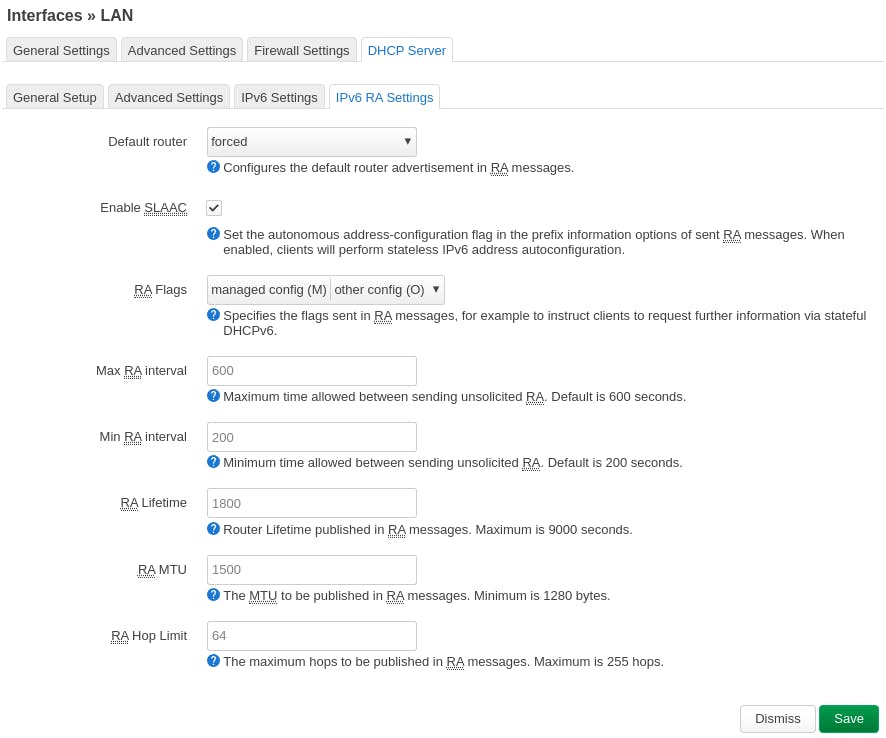
Go to the tab "IPv6 RA Settings", still under the "DHCP Server" tab. Change "Default router" to "forced". Check "Enable SLAAC" Check "managed config (M)" and "other config (O)" under "RA Flags"
It should be looking something like this:
Then finally, click on the blue "Save & Apply" button.
And you should be done!
Restart your router to ensure every device now has IPv6.
And if any support is needed, you can always join the Route48 Discord Server
Credits:
ivpn.net/setup/router/openwrt-wireguard The Route48 Discord Server
While editing, the firmware being run was OpenWrt 22.03.2 r19803-9a599fee93 / LuCI openwrt-22.03 branch git-22.288.45147-96ec0cd. The router is a TP-Link Archer C6 v3, having an MediaTek MT7621 and using the 5.10.146 Linux Kernel.